[4 Fixes] Your Internet Security Settings Prevented One or More Files From Being Opened (100% Working)
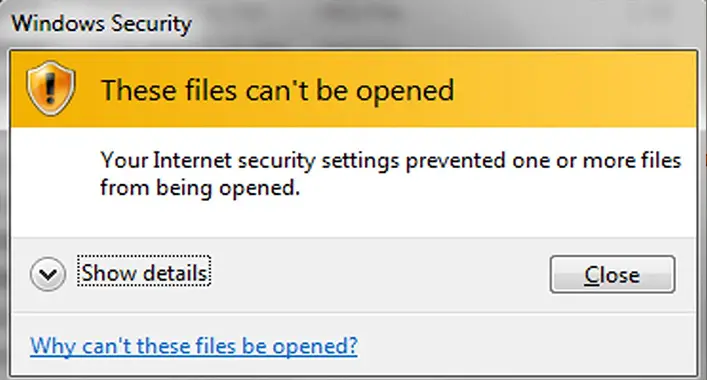
If you get the warning “Your Internet security settings prevented one or more files from being opened”, it’s just a default security measure of Windows. Whenever a file type seems unsafe, or you try to install an app downloaded from an unknown source, Windows security will block it.
The reason includes security concerns, as the file or app may include viruses and malware. Sometimes, even if granted access, you may still get the warning due to Windows 11 turning on some security tools by default. However, you can resolve this issue at any time simply by changing the security settings.
Why Can’t These Files Be Opened
Below are probable reasons why Windows security may seem reluctant to certain files.
1. Unsafe File Type
If your internet security settings prevented a file from being opened, it probably considers the file type unsafe. And the built-in security measures might have kicked in, keeping your device safe from malicious attacks.
So, unless you are 100% confident about the file type being safe, let the internet security do its job. Do not try to alter the settings if the file is not from a trusted source.
2. Internet Explorer Security Zone Disabled
Another reason might be the Launching applications and unsafe file settings not being enabled for the file zone. Typically, the Zone identifies the origin of the file that internet security settings prevented from being opened.
You can find the related settings by typing Internet Options inside the search panel and clicking on the first result. Next, head to the Security tab and pick a zone (Restricted sites or Local intranet). Lastly, click on Sites to view and change the zone settings.
3. Windows 11 Built-in Security Tools
Windows 11 improves security by including a couple of security tools and features. These, however, come enabled by default and may cause problems when opening files or installing third-party apps.
How to Fix ‘Internet Security Settings Prevented One or More Files From Being Opened’ Error?
Once you have identified the reason, pick one of the following methods. Otherwise, try each of them in any particular order to see which works best for your scenario.
Fix 1: Restore Default Internet Settings
If you recently upgraded from Windows 10 to Windows 11, the internet settings may have been through changes. But it is hard to tell which one, in particular, got altered. Therefore, it will be best to reset all the internet settings to default. Here’s how.
Step 1: Inside the Windows search box, type internet options.
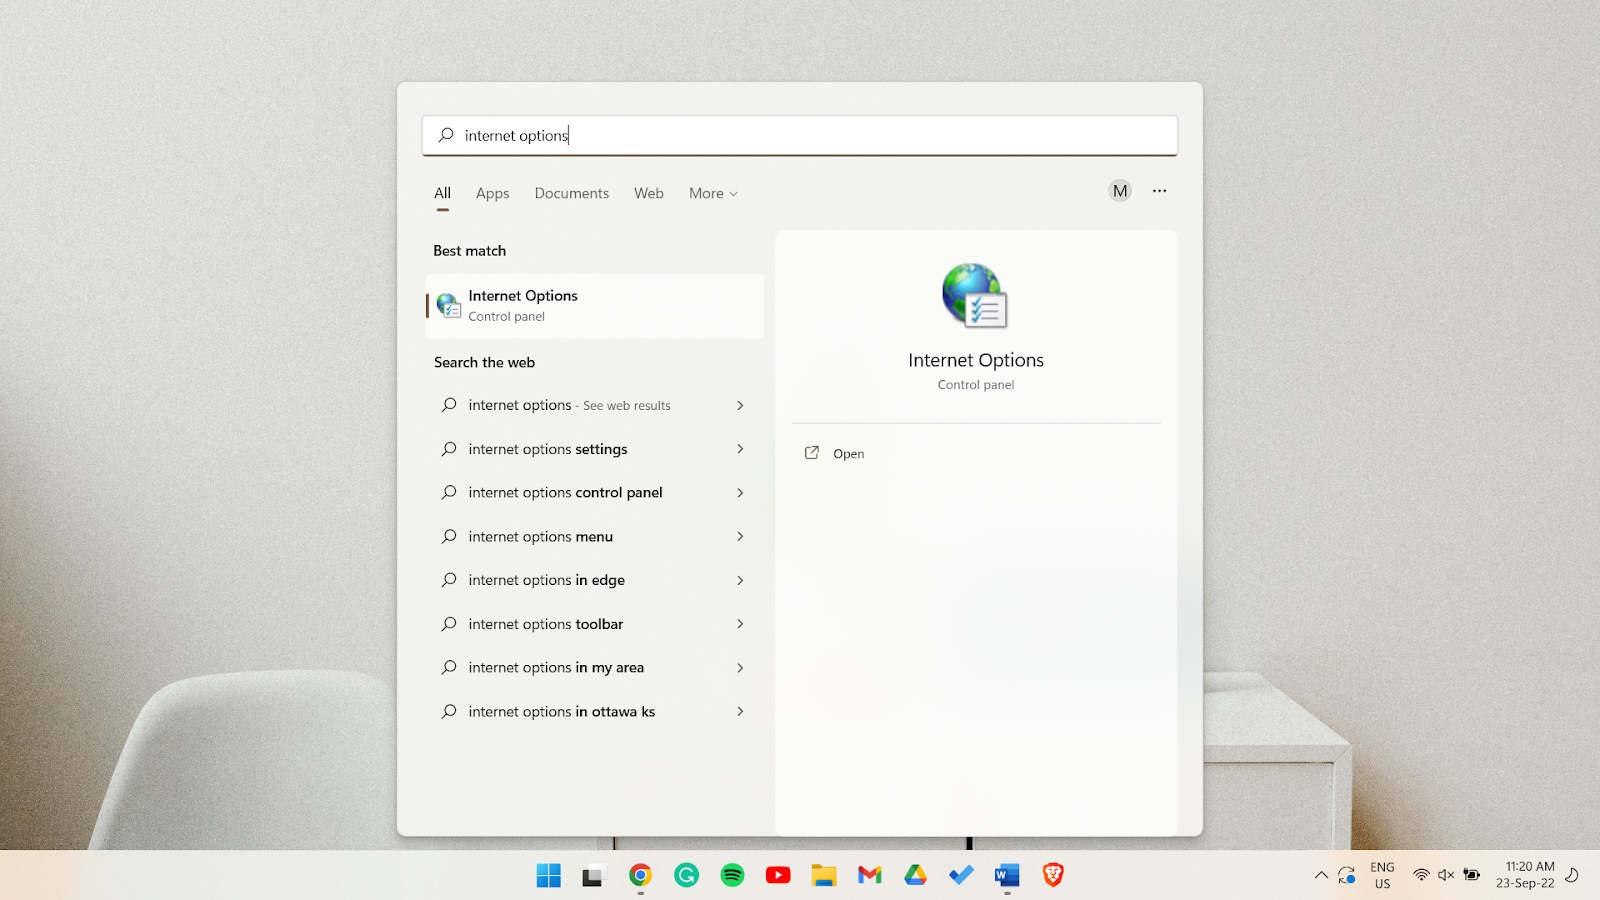
Step 2: The Internet Options, a part of the Control Panel, will appear first in the search results. Click on it to open a window named Internet Properties.
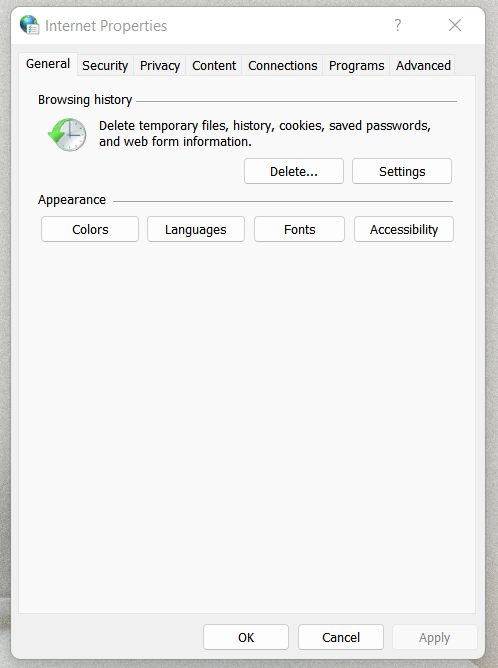
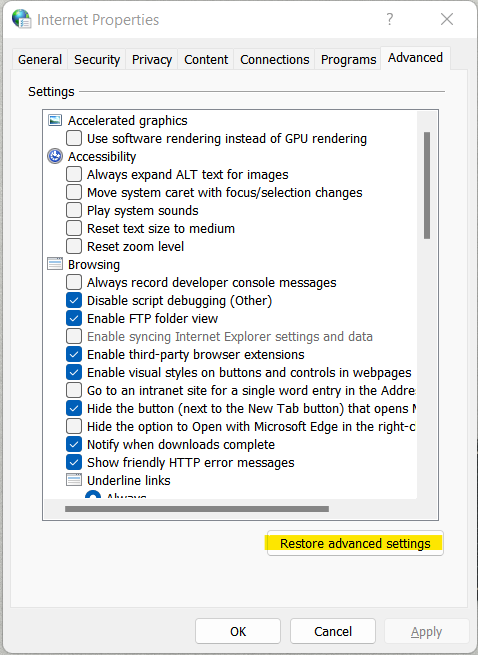
Step 3: Once there, go to the Advanced tab.
Step 4: Finally, click Restore advanced settings, Apply, and then OK.
Fix 2: Change Windows Security Settings
Although Windows 11 has some security options turned on by default, you can still tweak them as per your requirements. Disable Check apps and files alongside SmartScreen for Microsoft Edge within the Windows Security menu. Now, try to open the file again.
If the issue persists, disable Windows Firewall and manually allow the file. But do so only if it is from a reliable source. Also, remember that this is a temporary solution, and the problem may occur once you re-enable Firewall.
Fix 3: Internet Zone Settings
If the Launching applications and unsafe file settings inside the Internet Properties are not correct, you can fix it in the following manner.
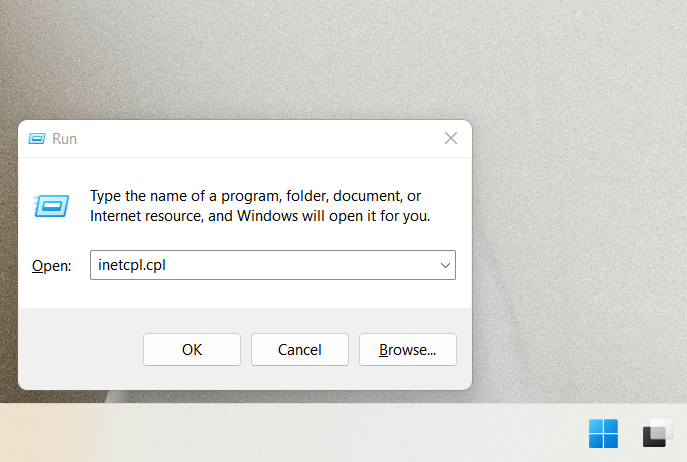
Step 1: Press Windows + R to open the run dialog box, type in “inetcpl.cpl”, and press enter.
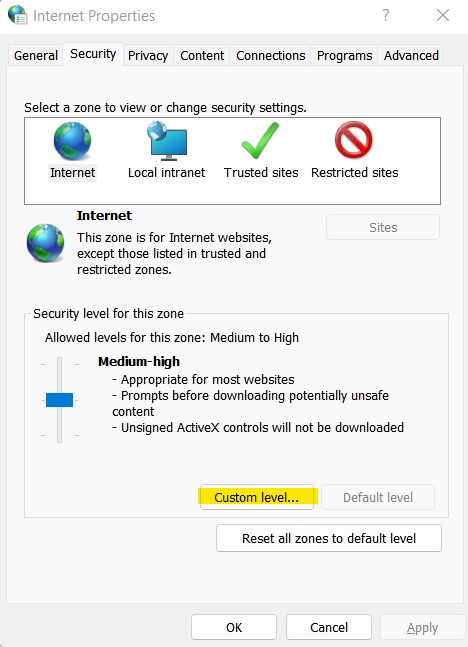
Step 2: The Internet Properties window will pop up, from where you have to head to the Security tab and click on Custom level.
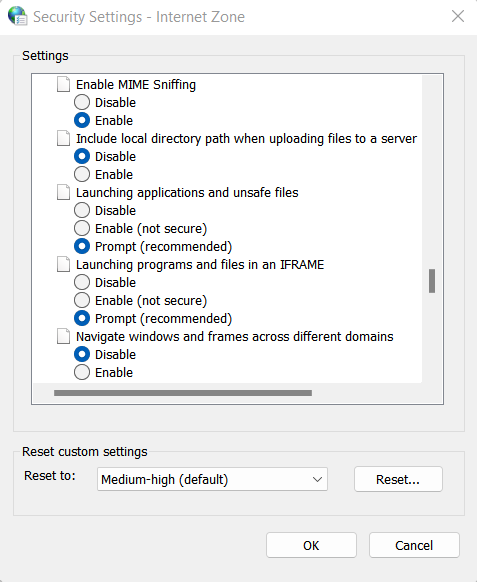
Step 3: Doing so will open a new window called Security Settings – Internet Zone. Now, you’ll need to scroll down and look for Launching applications and unsafe files. It should be set to Prompt (recommended) by default. But if it is set to Disable, select the Prompt option, click Apply, and then OK.
Step 4: Finally, close the Internet Properties window and restart your computer for the change to take effect.
Fix 4: Reset Security Zone Settings
If none of the above tricks work, you can try resetting the internet security zone settings. Here’s how.
Step 1: Open Internet Explorer and click on Tool, then go to Internet Options.
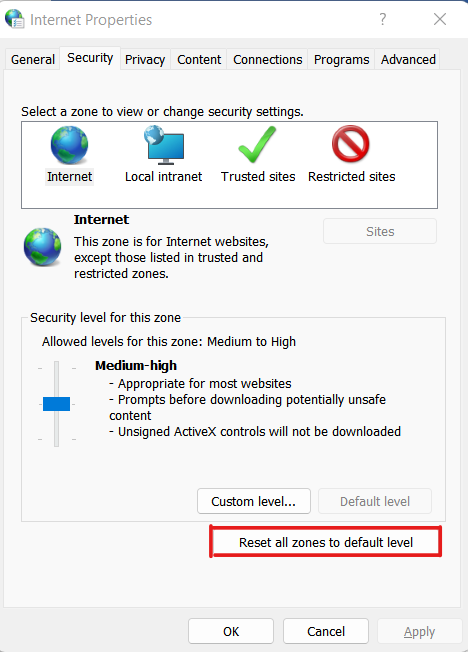
Step 2: Head to the Security tab and click Reset all zones to the default value.
Step 3: Then, hit Apply and OK.
How Do I Stop Security Settings from Preventing Files from Being Opened?
Security utilities that might require a change for you to open blocked files include SmartScreen and Firewall. But first, type in Control Panel inside the Windows search box and open it once it appears in the results. You can also switch the view mode to Small Icons for further convenience.
1. Windows Firewall
Follow the steps as instructed –
Step 1: Type Control Panel inside the Windows search box and open it once it appears in the results.
Step 2: Once inside the Control Panel, search for and open Windows Firewall and click Allow an app through Windows Firewall. It should bring up a list of programs. But if you see the list grayed out, click on Change Settings.
Step 3: From there, you can enable the Public or Private option for the programs you want to access. However, if the program is not on the list, click on the Allow another app option and select it. Finally, press OK to finish.
2. Windows SmartScreen
Step 1: From the Control Panel, open the Action Center.
Step 2: After that, select the Change Windows SmartScreen Settings option from the sidebar.
Step 3: The available options will include blocking the files without administrator access, allowing the files, or warning without blocking. Choose your preferred settings and hit OK to finish.
Frequently Asked Questions (FAQs)
How do I disable Internet Security settings in Windows 11?
That’s a pretty simple task. First, open Windows Security. Get into Virus & threat protection. After that, select Manage settings under Virus & threat protection settings. Now, turn off the real-time protection.
How do I Stop Windows Security from blocking files?
You should start by going to the Windows Security. Then get inside the Virus & threat protection section. Now, locate Exclusion and under that select Add or remove exclusions. Finally, choose Add an exclusion and choose the files that you don’t want to get blocked.
Bottom Line
Despite the odds, you might be dealing with some malware if none of the above security tweaks work. In that case, we recommend trying a reliable anti-malware tool and performing a thorough scan of your device.


![[6 Steps] How to Stop Avast From Moving a File to Chest?](https://cyberselves.org/wp-content/uploads/2023/02/How-to-Stop-Avast-From-Moving-a-File-to-Chest.webp)