How to Install Malwarebytes on a Flash Drive (2 Simple Methods)
An antivirus is unavoidable and most effective when it comes to defeating potential malware. You can find so many efficient antimalware programs available online and if you consider the best ones, Malwarebytes is definitely mentioned worthy here.
Malwarebytes is one of the most used and highly appreciated antimalware programs with an industry-average detection rate of around 95%. So undoubtedly, it can be considered as best. And as we can see, you’re also choosing it for your system protection which is a good decision indeed.
In fact, you’ve come to the exact place as in this post we’re going to share the effective procedures for installing Malwarebytes on a flash drive. Therefore, without wasting more time, let’s straight get into them.

How Do You Install Malwarebytes on a Flash Drive?
Entirely, there are two ways that you can install Malwarebytes on a flash drive. One is literally installing the program on a flash drive, and the other one is using the Malwarebytes TechBench. We’ll provide proper guidance on how you can apply both methods conveniently and you can choose any of them according to your preference. So, what are you waiting for?
Method 1: Install Malwarebytes on the Flash Drive
The procedure is pretty simple. All you need to do is follow the steps as instructed. Here are them –
Step 1: First of all, you need to download the Malwarebytes installer file from its official website.
Step 2: Next, copy the installer file to the flash drive.
Step 3: Now, connect the flash drive to the PC you want to scan.
Step 4: After that, execute the installer on that infected PC.
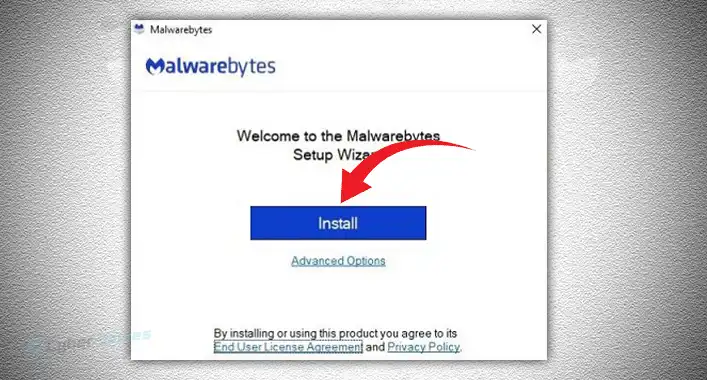
Step 5: Finally, finish the installation by following the on-screen commands.
Method 2: Use the Malwarebytes TechBench
This is the modern solution for removing malware from an infected system provided by Malwarebytes itself. For your information, the Malwarebytes TechBench can be considered the portable version of Malwarebytes that also make use of a flash drive. It offers all the same features as the conventional Malwarebytes program. The only difference is it doesn’t need to be installed. To use the Malwarebytes TechBench –
Step 1: Start by downloading the Malwarebytes TechBench from Malwarebytes’ official site.
Step 2: Then copy the TechBench folder and paste it to the flash drive.
Step 3: Next connect the flash drive to the infected PC and run the TechBench executable file.
Step 4: In the end, follow the on-screen commands to scan and remove malware.
Frequently Asked Questions and Answers – FAQs
Can I install Malwarebytes without the internet?
No, you can’t do that. The installer requires an internet connection to download the latest definitions and other relevant files. You can, however, download the Malwarebytes installer to a USB drive and then install it on a computer without an internet connection.
What are the benefits of using Malwarebytes?
Malwarebytes offers a number of benefits similar to other renowned antivirus programs. Here are the notable benefits – it has a high detection rate, provides better real-time protection, it’s pretty easy to use and offers both free and premium options. It’s another big reason that Malwarebytes has a large user base.
Is Malwarebytes worth it?
The worth of Malwarebytes mostly depends on your individual needs and budget. In general, if you’re looking for a user-friendly high-detection rate antimalware application, Malwarebytes is always a great option. However, if you need a more comprehensive antivirus program with more additional features, then you may want to consider other options.
Conclusion
That’s all about how you can successfully install Malwarebytes on a flash drive. Both aforementioned methods are pretty simple and useful in this case. You just need to pick any of them and apply accordingly. For better results, use a flash drive that’s at least 8GB in size and FAT32 formatted. Don’t forget to keep the flash drive up to date with the latest Malwarebytes updates. If you have any other questions, knock us in the comment section.


