[2 Fixes] Avast Can’t Remove Virus
It’s frustrating when a virus infects your computer system. It puts all of your hard work and important files at risk. Most of the time, anti-virus software like Avast manages to remove them with some simple steps. However, there are times when Avast cannot remove some viruses or malware.
This most likely indicates a rootkit infection. Although it is hard to remove rootkits, they are not untouchable. Entering safe mode on your PC followed by a boot-time scan is an effective solution. Besides, you can use an anti-rootkit application to remove them too.
How to Fix Avast Can’t Remove Virus Issue
Common virus and malware, after entering a system, simply spreads and damages files. But rootkits can hide so deep in the computer system that the virus scanners often overlook them. They contain codes that can disable the firewall and lets the hackers access your computer.
As a result, it can be a little bit difficult to get rid of them. There are two ways to remove viruses if Avast cannot remove them with automatic virus scans. They are:
- Removing virus with boot-time scan
- Using an anti-rootkit application
Solution 1: Removing Virus With Boot-Time Scan
Performing a boot-time scan will most likely remove or quarantine the rootkits and other viruses which cannot be removed by normal scans. Use the following procedure step-by-step.
Method 1: Enable Safe Mode on Your PC
Enabling the safe mode will restrict your PC to perform any operations other than the basic ones. This will disable the virus-infected files on your PC which will prevent any further damage. There are three steps to activate safe mode on your PC:
Step 1: Using the System Configuration Tool
- Press the “Windows” + “R” keys on your keyboard simultaneously.
- Type “msconfig” in the text box.

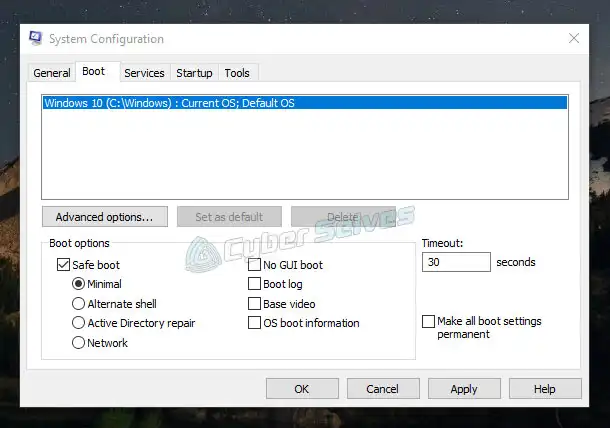
- Got to the “Boot” tab
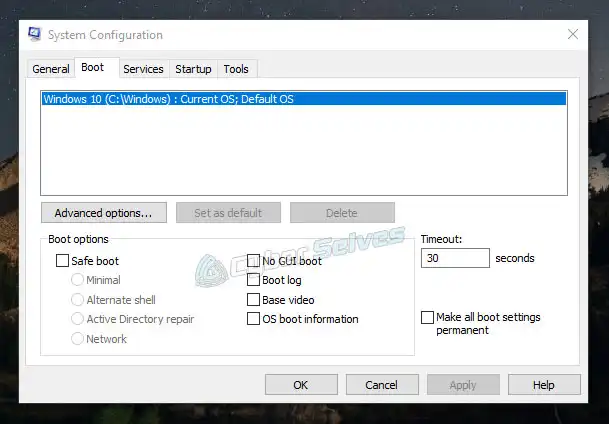
- From the “Boot options”, check the “Safe boot” box. Then select “Minimal”. After that, click “Apply” and “OK”.
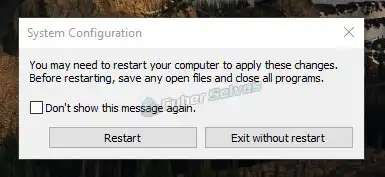
- Select “Restart”. Your PC will now boot into safe mode.
Step 2: By Pressing “Shift” + “Restart”
- Go to the start menu.
- Hold down the “Shift” key on your keyboard while clicking the power icon and then “Restart”.
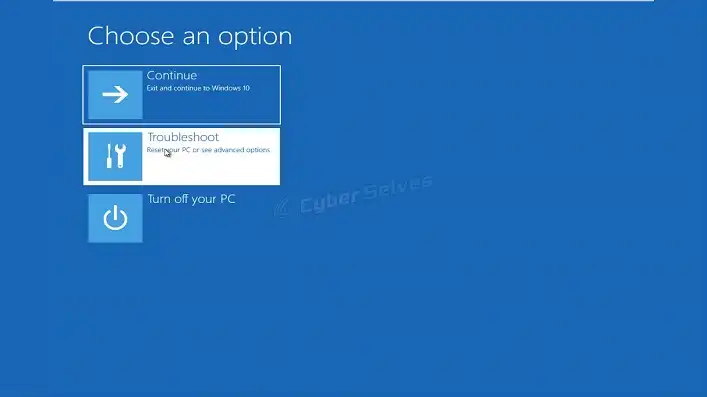
- Upon restart, select “Troubleshoot”.
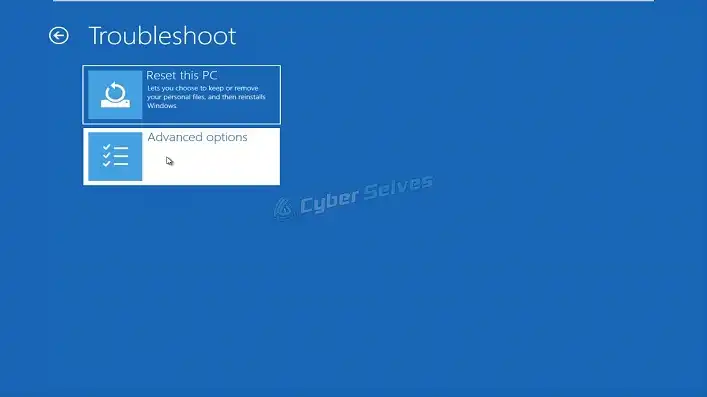
- Then select “Advanced options”.
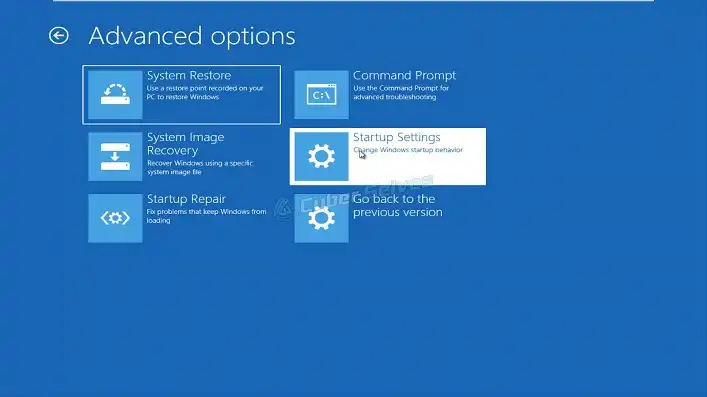
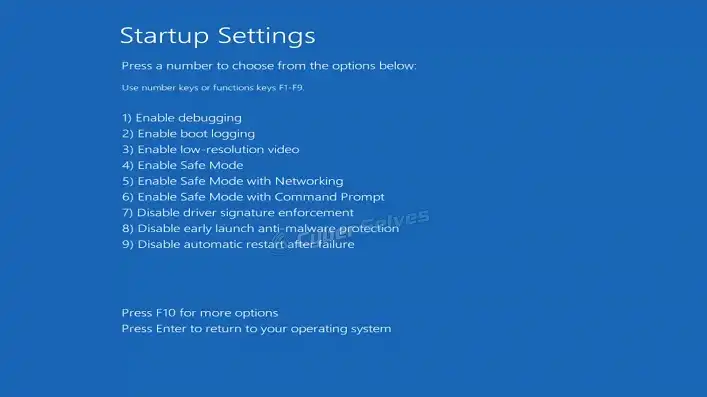
- Select “Startup Settings”.
- And then click on “Restart”.
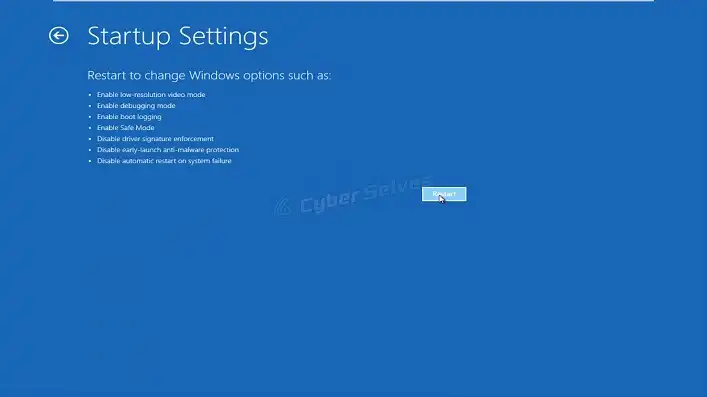
- From the “Startup Settings” window, choose the “Enable Safe Mode” option by pressing the “F4” key.
Step 3: By Shutting Down Your Computer Three Times
If you are unable to enter safe mode using the above methods, then follow these steps:
- Force shut down your PC by holding the power button for 10 seconds.
- Turn on the PC using the power button. As soon as the screen lights up, force shut down your PC again.
- Follow the previous step one more time.
- Upon the third restart, wait for the PC to enter the windows recovery environment. From there, choose the series of options to enter safe mode as stated in method 2.
Method 2: Remove Temporary Files
Removing temporary files will make the virus scan in the next step faster. If you get lucky, this may even get rid of the virus.
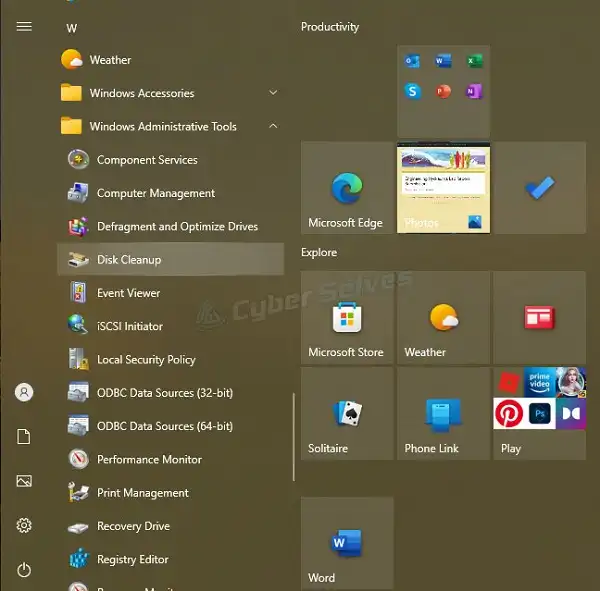
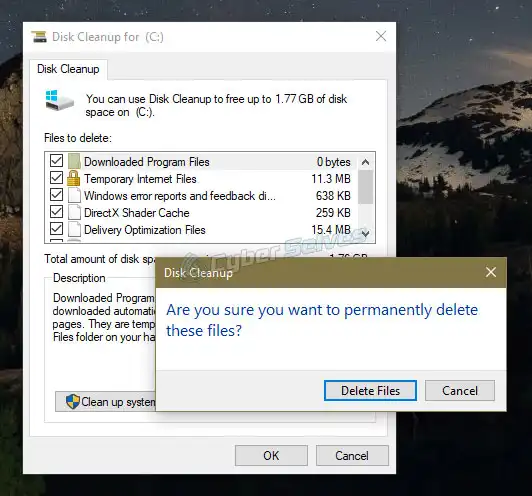
- From the “Start Menu”, click on “Windows Administrative Tools” and select “Disk Cleanup” from the drop-down menu.
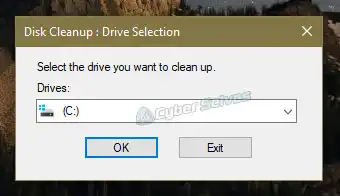
- Select the drive you want to clean up and then click “OK”.
- Check the boxes next to the files you want to remove. It is better to get rid of all the temporary files.
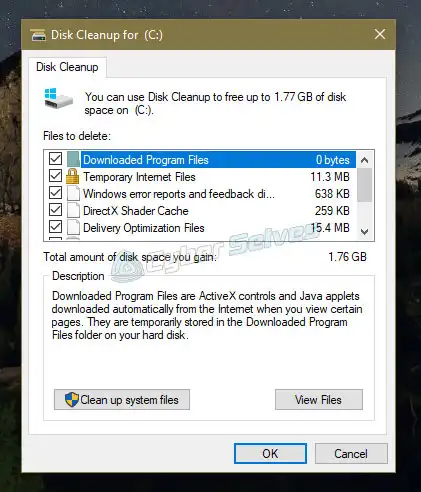
- Click “OK” and then click “Delete Files”.
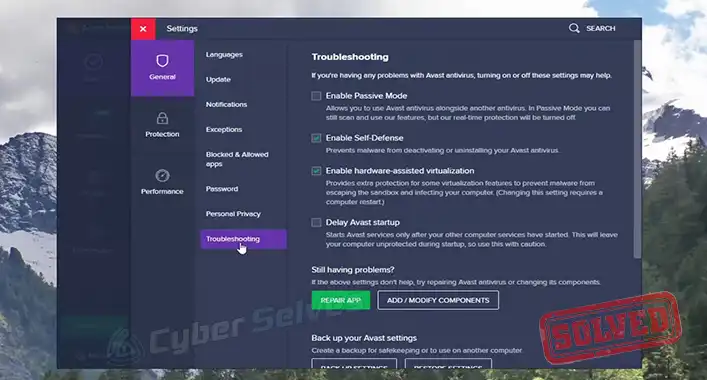
Method 3: Set up Boot-Time Scan
Avast Antivirus and Avast One have built-in boot-time scan features. But since your PC is in safe mode, you will not be able to access these applications, even if they are installed and running on your PC.
As a result, you will have to schedule a boot-time scan upon the next restart of your PC. To schedule a boot-time scan follow the procedures:
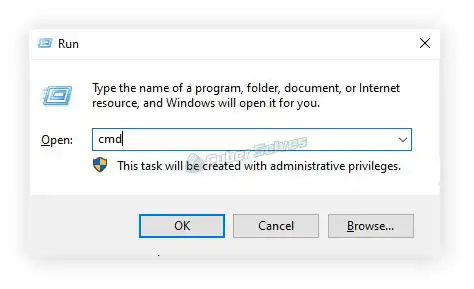
- Press the “Windows” + “R” keys on your keyboard.
- Type “cmd” in the text box and then click “OK”.
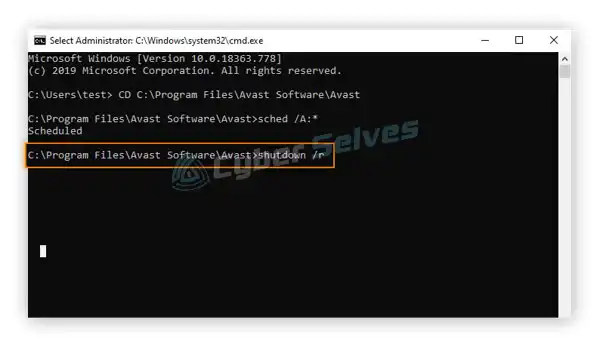
- In the Command Prompt interface, type “CD” and then the location where Avast is installed on your PC. The default path is “C:\Program Files\Avast Software\Avast”. Then press “Enter”.

- Type “sched /A:*” and then press “Enter”. The Command Prompt interface should show “Scheduled”. This means the boot-time scan is confirmed.

- Type “shutdown /r” and press “Enter”.
- Upon the restart of your PC, Avast will run a boot-time scan. Wait for it to finish.
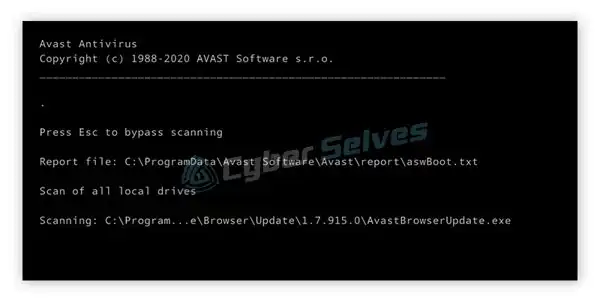
- Your PC will complete the booting process when the scan is finished.
Once you are sure that the virus is gone, you may exit the safe mode.
Solution 2: Using an Anti-rootkit Application
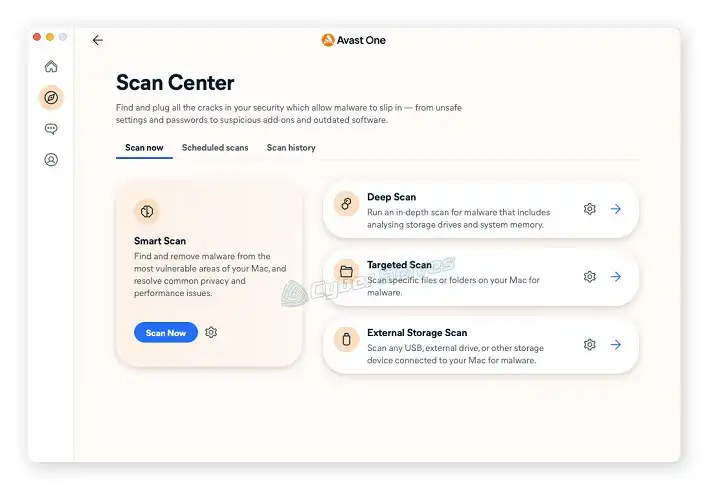
You can use an anti-rootkit application to get rid of rootkits. There are several options out there, including Avast One. Perform a deep scan to detect rootkits and remove them from your system.
Frequently Asked Questions And Answers
Can Avast Remove All Viruses?
Just like other antivirus software, Avast can detect and remove most viruses and malware. However, in the case of rootkit infections, the rootkits go undetected in the typical virus scans. In that case, you will need to enable safe mode followed by a boot-time scan to get rid of the rootkits. You can also use an anti-rootkit application like Avast One. It can detect and remove different malware including rootkits from your PC.
What to Do if Antivirus Cannot Remove Virus?
If the antivirus cannot remove the virus, you need to go through the following steps:
- Enable safe mode on your PC.
- Delete all the temporary files.
- Schedule a boot-time scan using Command Prompt and then restart the computer.
- When the scan is complete, turn off the safe mode.
Can Avast Remove Trojan Virus?
Avast can scan and detect Trojans just like most antivirus software. It can detect and remove Trojans within a short time and quite accurately.
Bottom Line
If your Avast Antivirus cannot remove a virus, don’t panic. Go through the methods discussed above step-by-step to get rid of them. You may consider having an anti-toolkit application installed to prevent future infections.

![[Answered] Is Win32:Malware-Gen False Positive? | Is It Necessary?](https://cyberselves.org/wp-content/uploads/2022/03/Win32-Malware-gen-False-Positive.jpg)
![[Answered] Can a 3DS Get a Virus?](https://cyberselves.org/wp-content/uploads/2023/09/Can-a-3DS-Get-a-Virus.webp)
![[Fix] Virus won’t Let Me Download Antivirus (100% Working)](https://cyberselves.org/wp-content/uploads/2022/10/Virus-Wont-Let-Me-Download-Antivirus.jpg)
